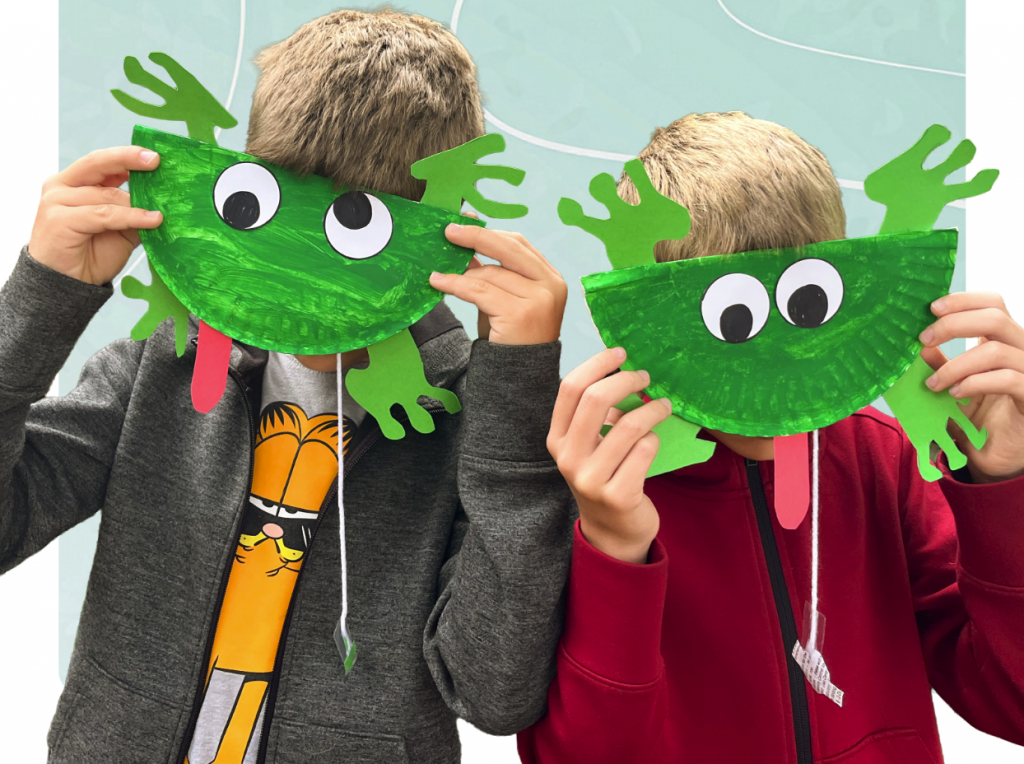
Warm summer nights are upon us and all the creatures are ready to have some fun! Join us in making this playful frog craft, and help her catch some yummy bugs for lunch!
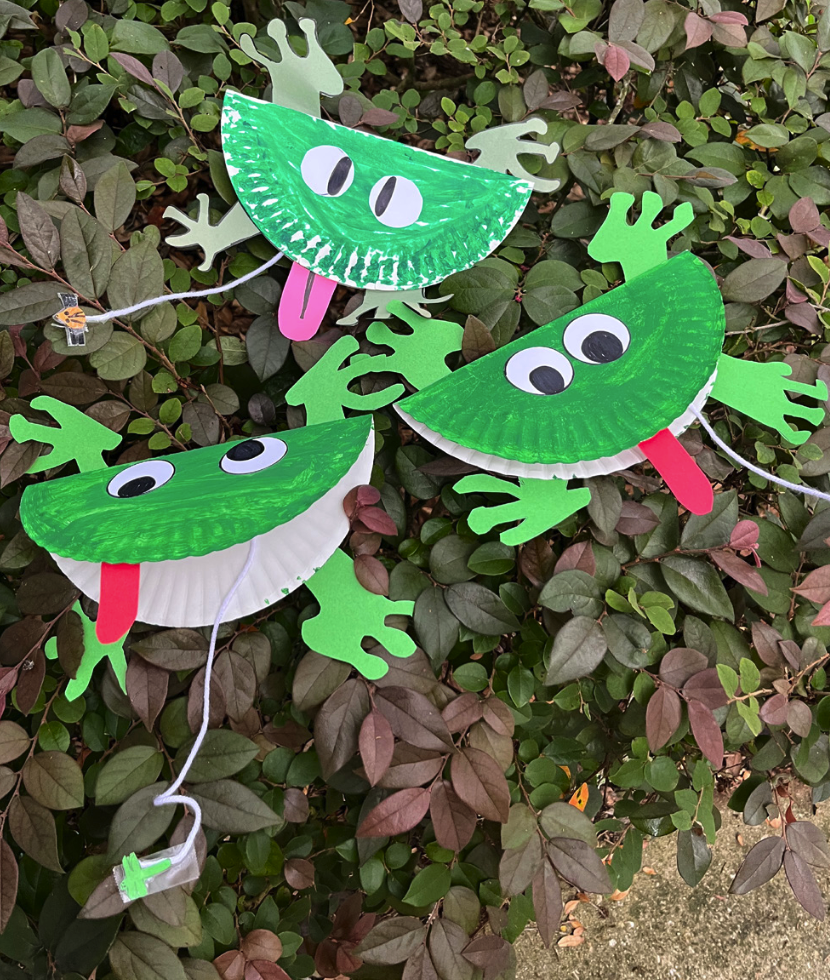
Materials
- Large white paper plate
- Green craft paint and a brush (or green markers)
- Green, red and white construction paper
- Glue stick
- Yarn
- Tape
- Craft scissors
- Black markers
Instructions
- Start by folding one large plate in half to make the body of your frog.
- Paint the top half green and let it dry (or use markers for a bit less mess).
- For the eyes, cut out two large circles from the white paper. Color a smaller black circle inside the white for the pupil. Glue these to the top of the plate (green side).
- Cut frog legs out of green construction paper and attach them in two locations. Two on the top and two on the bottom. These can be simple or complex — you can’t go wrong! Lots of inspiration can be found online, or make a style similar to Connor and Harrison’s.
- Use red (or pink) construction paper to cut out a long tongue and glue it down on the inside of the frog’s mouth.
- The final and most fun part is the bug! Draw any bug that makes you smile. A fly, ladybug, dragon fly, beetle …. artist’s choice! Be sure to make it at least an inch tall so it’s not too hard to cut out.
- Once the bug is drawn, colored and cut out, cut a piece of yarn about 10 to 12 inches long.
- Tape the bug to one end of the yarn, then tape the other end into the TOP part of the mouth.
- Now you have a happy frog!